
As a member of Tome’s mobility team, I’m a fresh convert to the microservice dogma. After dealing with all the complexities of a massive, monolithic codebase in a previous project, we decided to start fresh and break our new project into many (less massive) services. This post isn’t about the pros and cons of microservices. If you want to learn more about that, I think this series of posts from SoundCloud is particularly interesting. Instead, I’m going to talk a bit about communication between services, which we’ve found to be much easier said than done. In particular, I’ll explore one option for handling communication between services: Apache Thrift.
I’m just going to take wikipedia’s description of it and put it here so I don’t have to write this out myself:
Thrift is an interface definition language and binary communication protocol[1] that is used to define and create services for numerous languages.[2] It is used as a remote procedure call (RPC) framework and was developed at Facebook for “scalable cross-language services development”. It combines a software stack with a code generation engine to build cross-platform services that can connect applications written in a variety of languages and frameworks, including ActionScript, C, C++,[3]C#, Cappuccino,[4]Cocoa, Delphi, Erlang, Go, Haskell, Java, Node.js, Objective-C, OCaml, Perl, PHP, Python, Ruby and Smalltalk.
Essentially, Thrift allows you to write something in one application and expose it to other applications as if it were a function, even if they’re written in different languages. Thrift files define what your service takes as input and returns as output and the thrift command line tool generates the code for your language to produce or consume that service. In practice, the process of creating a service in Thrift looks like this:
- Write out a .thrift file to describe your new service
- Generate source code for the language you’ll be writing the service with using the
thriftcommand line tool - Include the generated code and write out the service
- Generate code for the the language you’ll be using the service in using the
thriftcommand line tool - Include the generated code and use the service in your other application
To try this out, my goal was to write an API where the endpoints would all be written in different languages. I chose to write something very simple with three endpoints:
- GET /reverse/<text> – reverses text, written in Python
- GET /capitalize/<text> – capitalizes text, written in Java
- GET /uncapitalize/<text> – uncapitalizes text, written in Ruby
To do this, I decided to write thrift services to reverse, capitalize, and uncapitalize strings and then write a Node.js application to expose these services as endpoints using express. The thrift files ended up looking like this:
# In java, this service will be at 'com.tomesoftware.capitalize.CapitalizeService'
namespace java com.tomesoftware.capitalize

service CapitalizeService {
    string capitalize(1:string text)
}
namespace py reverse
service ReverseService {
string reverse(1:string text)
}service UncapitalizeService {
string uncapitalize(1:string text)
}I then used these files to generate code to be used by all of these services using the thrift command,
# Uncapitalize is written in ruby
thrift -r --gen rb -o uncapitalize thrift/uncapitalize.thrift

# Reverse is written in python
thrift -r --gen py -o reverse thrift/reverse.thrift

# Capitalize is written in java
# We use '-out' here due to maven's file structure
thrift -r --gen java -out capitalize-java/src/main/java thrift/capitalize.thrift

# I also have a version of capitalize in nodejs
thrift -r --gen js:node -o capitalize-node thrift/capitalize.thrift
# The nodejs express gateway application also needs to know about these services
thrift -r --gen js:node -o gateway thrift/uncapitalize.thrift
thrift -r --gen js:node -o gateway thrift/capitalize.thrift
thrift -r --gen js:node -o gateway thrift/reverse.thrift
Then I had to implement each of these services. Here’s what the capitalize service ends up looking like in nodejs:
var thrift = require('thrift');
var CapitalizeService = require('./gen-nodejs/CapitalizeService');
var types = require('./gen-nodejs/capitalize_types');

var server = thrift.createServer(CapitalizeService, {
    capitalize: function(text) {
        return text.toUpperCase();
    }
});

server.listen(9090);
And finally the nodejs application that exposes these services:
const thrift = require('thrift');
const CapitalizeService = require('./gen-nodejs/CapitalizeService');
const UncapitalizeService = require('./gen-nodejs/UncapitalizeService');
const ReverseService = require('./gen-nodejs/ReverseService');
const app = require('express')();

const transport = thrift.TBufferedTransport;
const protocol = thrift.TBinaryProtocol;

function createConnection(host, port, thing, errorCallback) {
    const connection = thrift.createConnection(host, port, {
        transport : transport,
        protocol : protocol
    });

    connection.on('error', errorCallback);

    return thrift.createClient(thing, connection);
}

app.get('/reverse/:sometext', (req, res) => {
    const Reverse = createConnection(process.env.REVERSE_HOST, process.env.REVERSE_PORT, ReverseService, (err) => {
        return res.status(500).json({
            name: err.name,
            message: err.message,
            stack: err.stack
        });
    });

    return Reverse.reverse(req.params.sometext)
        .then(result => res.status(200).json(result))
        .catch(err => res.status(500).json(err));
});

app.get('/capitalize/:sometext', (req, res) => {
    const Capitalize = createConnection(process.env.CAPITALIZE_HOST, process.env.CAPITALIZE_PORT, CapitalizeService, (err) => {
        return res.status(500).json({
            name: err.name,
            message: err.message,
            stack: err.stack
        });
    });

    return Capitalize.capitalize(req.params.sometext)
        .then(result => res.status(200).json(result))
        .catch(err => res.status(500).json(err));
});

app.get('/uncapitalize/:sometext', (req, res) => {
    const Uncapitalize = createConnection(process.env.UNCAPITALIZE_HOST, process.env.UNCAPITALIZE_PORT, UncapitalizeService, (err) => {
        return res.status(500).json({
            name: err.name,
            message: err.message,
            stack: err.stack
        });
    });

    return Uncapitalize.uncapitalize(req.params.sometext)
        .then(result => res.status(200).json(result))
        .catch(err => res.status(500).json(err));
});

app.listen(process.env.PORT || 8000);
The highlighted lines above are where we’re actually calling our new thrift services. They’re just like any other javascript function, they even support promises!
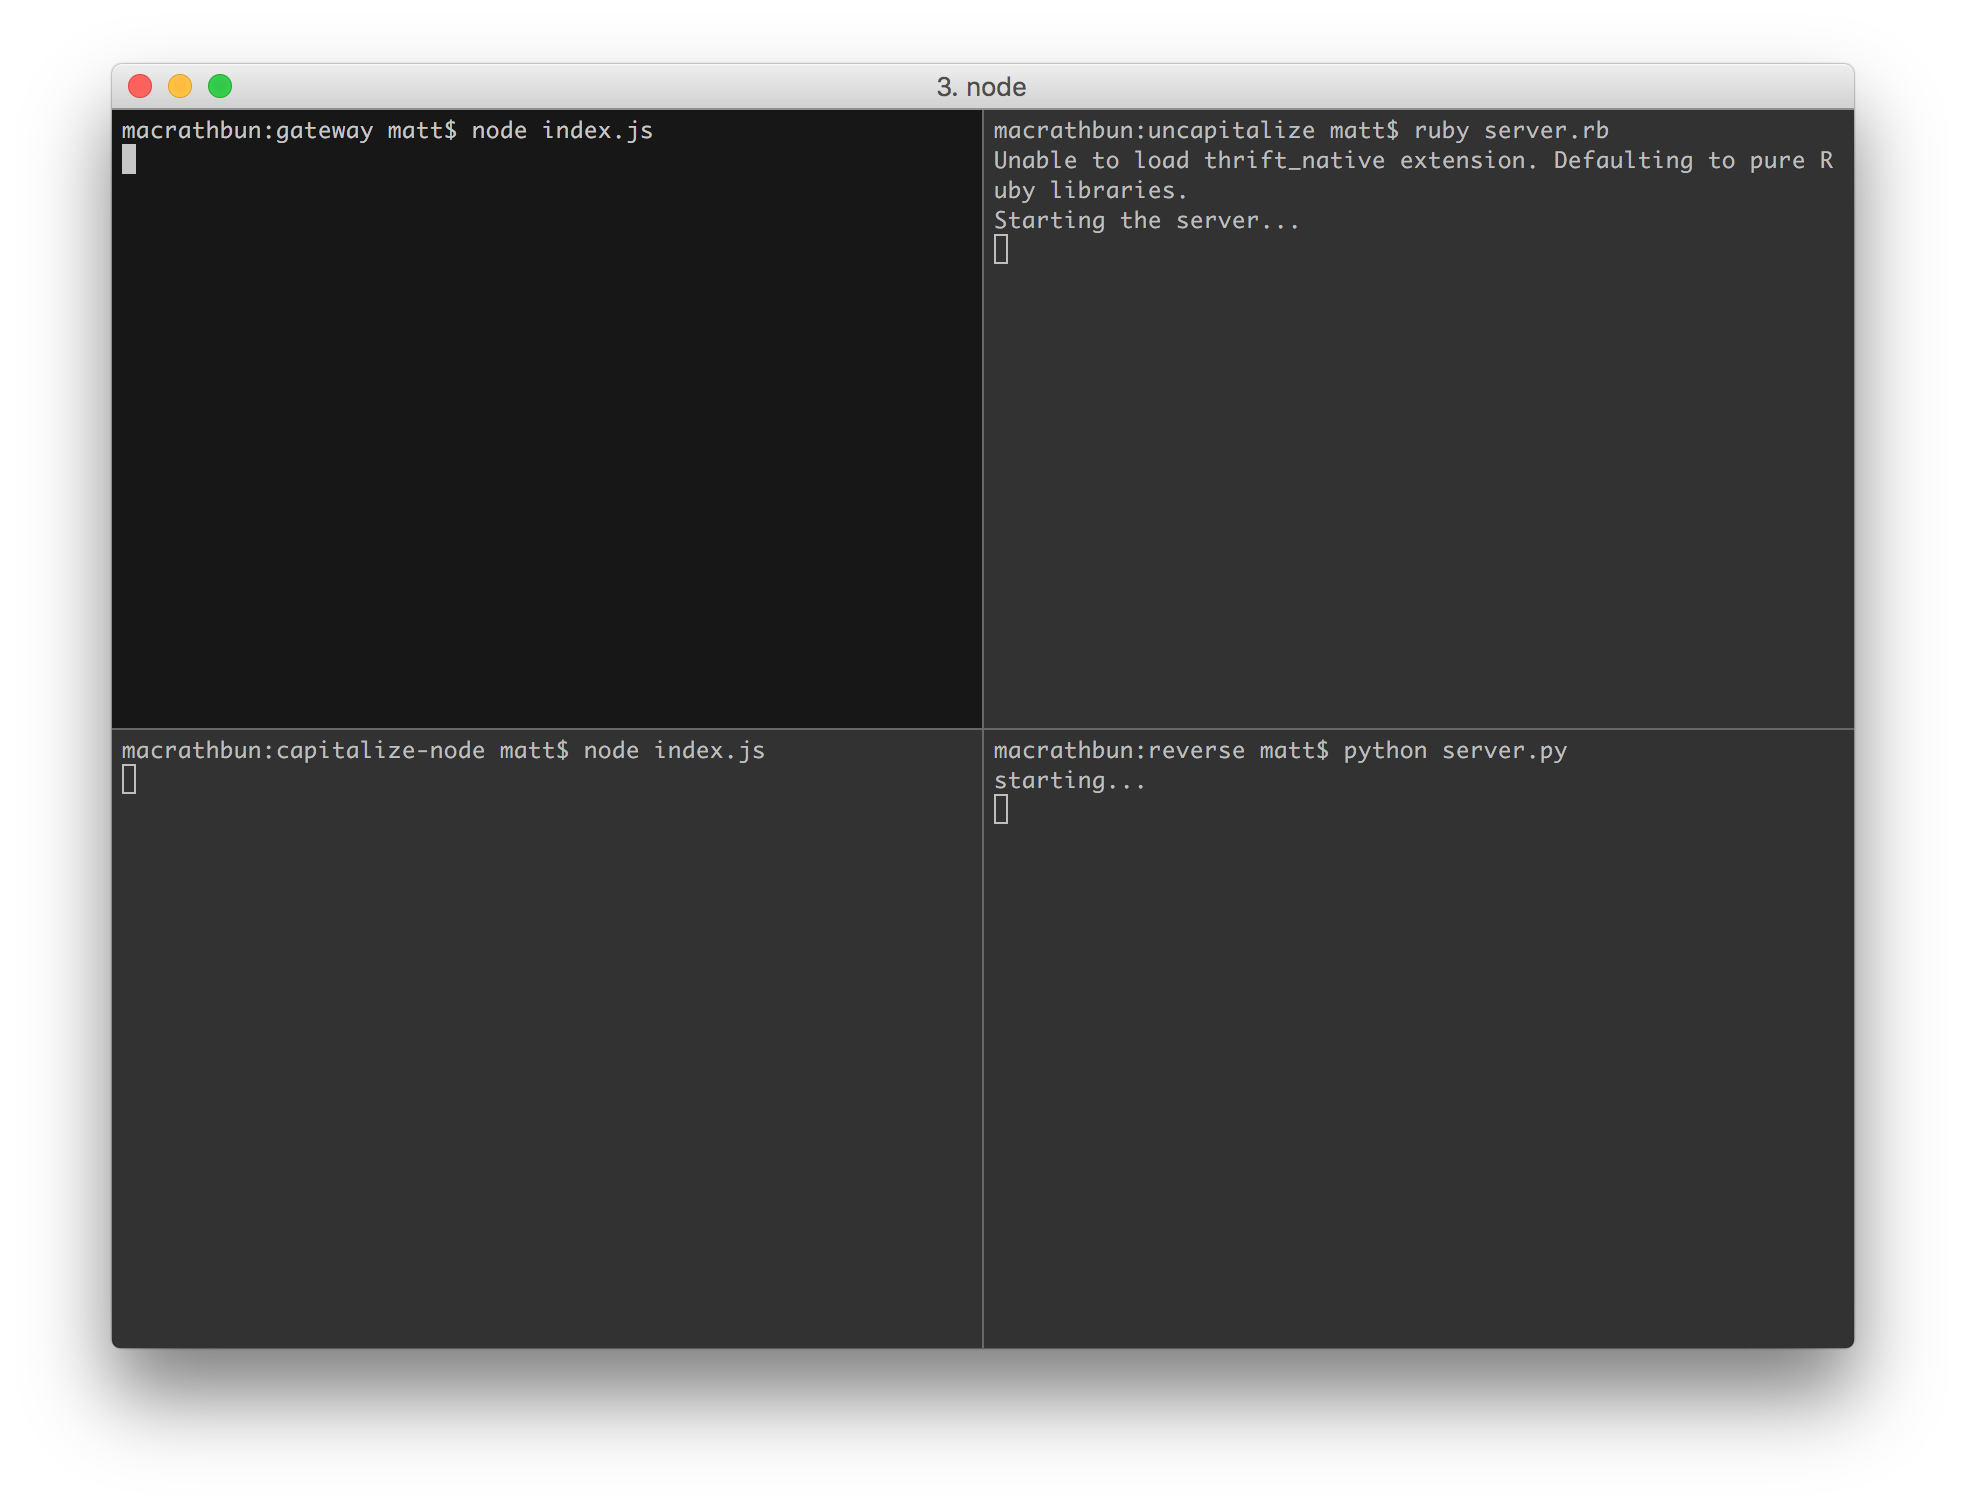
Now, we can run each of these processes individually, but having to start four different commands is pretty annoying:
So let’s link all this together with docker-compose. Note below how I use environment variables to keep all the services linked together. When I was running all these services individually, I would have to set all those environment variables manually or keep those connections hard coded. That was such a hassle!
version: '2'
services:
  capitalize-java:
    container_name: capitalize-java
    image: maven:latest
    working_dir: /usr/src/app
    volumes:
      - ./capitalize-java:/usr/src/app
    command: bash -c "mvn compile && mvn exec:java"

  capitalize-node:
    container_name: capitalize-node
    image: node:boron
    command: bash -c "yarn install && npm start"
    working_dir: /usr/src/app
    volumes:
      - ./capitalize-node:/usr/src/app
      - /usr/src/app/node_modules
    environment:
      - PORT=3000

  reverse:
    container_name: reverse
    image: python:2
    command: bash -c "pip install -r requirements.txt && python -u server.py"
    working_dir: /usr/src/app
    volumes:
      - ./reverse:/usr/src/app
    environment:
      - PORT=3000

  uncapitalize:
    container_name: uncapitalize
    image: ruby:2
    command: bash -c "bundle install && ruby server.rb"
    working_dir: /usr/src/app
    volumes:
      - ./uncapitalize:/usr/src/app
    environment:
      - PORT=3000

  gateway:
    container_name: gateway
    image: node:boron
    command: bash -c "yarn install && npm start"
    working_dir: /usr/src/app
    volumes:
      - ./gateway:/usr/src/app
      - /usr/src/app/node_modules
    ports:
      - "8000:8000"
    environment:
      - PORT=8000
      - CAPITALIZE_HOST=capitalize-java
      - CAPITALIZE_PORT=3000
      - REVERSE_HOST=reverse
      - REVERSE_PORT=3000
      - UNCAPITALIZE_HOST=uncapitalize
      - UNCAPITALIZE_PORT=3000
    depends_on:
      - capitalize-java
      - reverse
      - uncapitalize
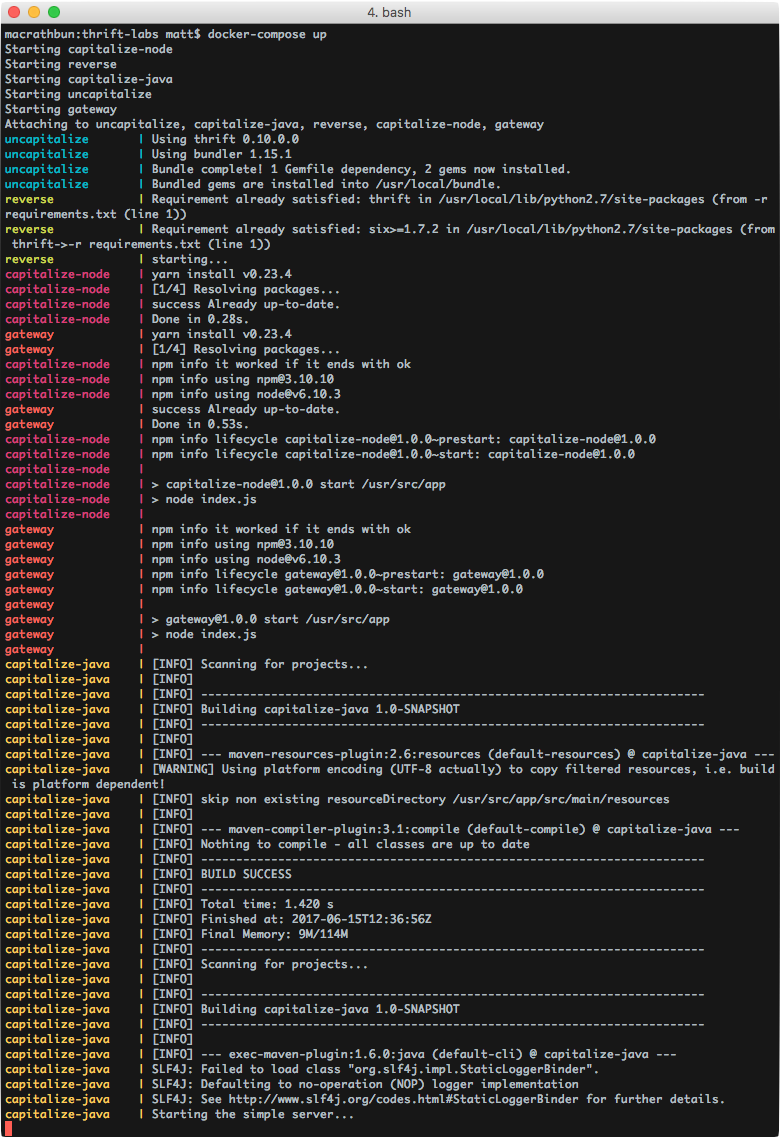
Now I can run it all with docker-compose up!
![]() Alright, now that it’s all running, let’s try it out:
Alright, now that it’s all running, let’s try it out:
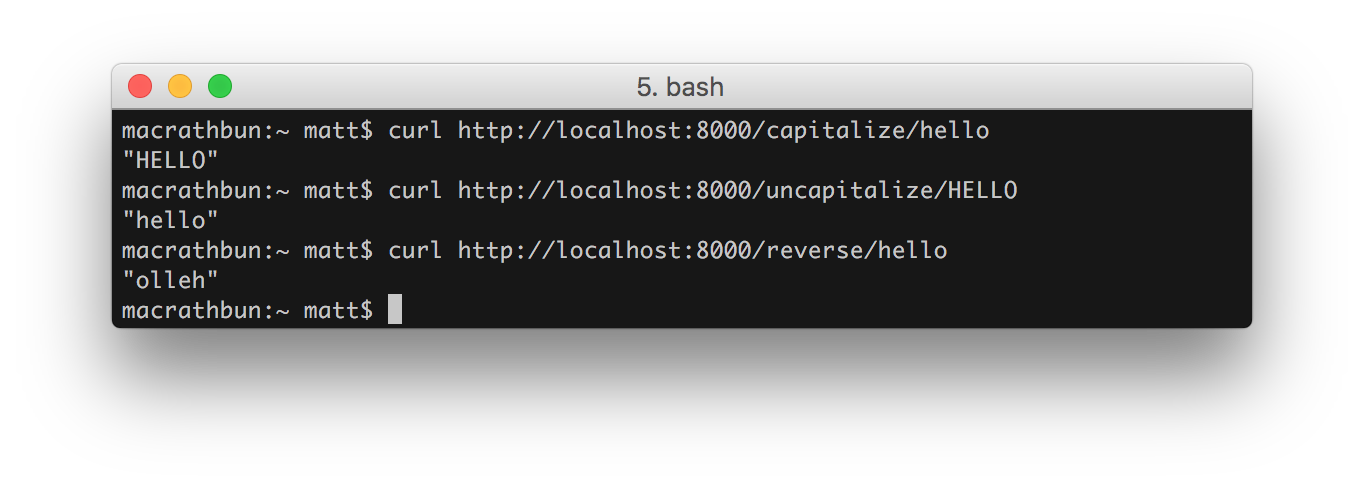
And there you have it. We’ve written an application in Node.js that calls functions that were written in Java, Ruby, and Python and we linked it all together using Docker and docker-compose! Neato!